Yep or worse come to worse on the build sheet usually in the trunk.
Painting an entire fender and having it turn out ok is a BIG job - have you done something like this before?
At least you can paint just the fender in the garage and not the whole car. You can order aerosol cans of the correct paint, primer and clears from internet sites. No spray gun needed.
I’ve used these products… https://www.automotivetouchup.com/ and these https://www.duplicolor.com/
If you are well-practiced in the technique (practice with primer!), you can get a decent looking job with spray cans. If you spray enough coats on, you can color-sand, compound, and a couple of finer and finer polishes to get a very nice finish.
The red paint likely won’t perfectly match because red tends to fade and change shade a bit, but it can look 20/20. Looks good at 20 feet away at 20 mph!
Edit: To @texases point, you need to fit the fender, bend the mounting points back in place, fiddle with the fit, find a little and get the primed fender in place as a trial fit BEFORE you start worrying about primer and paint. THEN you can worry about primer and paint. It IS a big job!
+1 to @Mustangman
will add few words although…
I’ve fixed $1500 15-years-old Prius for my daughter’s first car last spring.
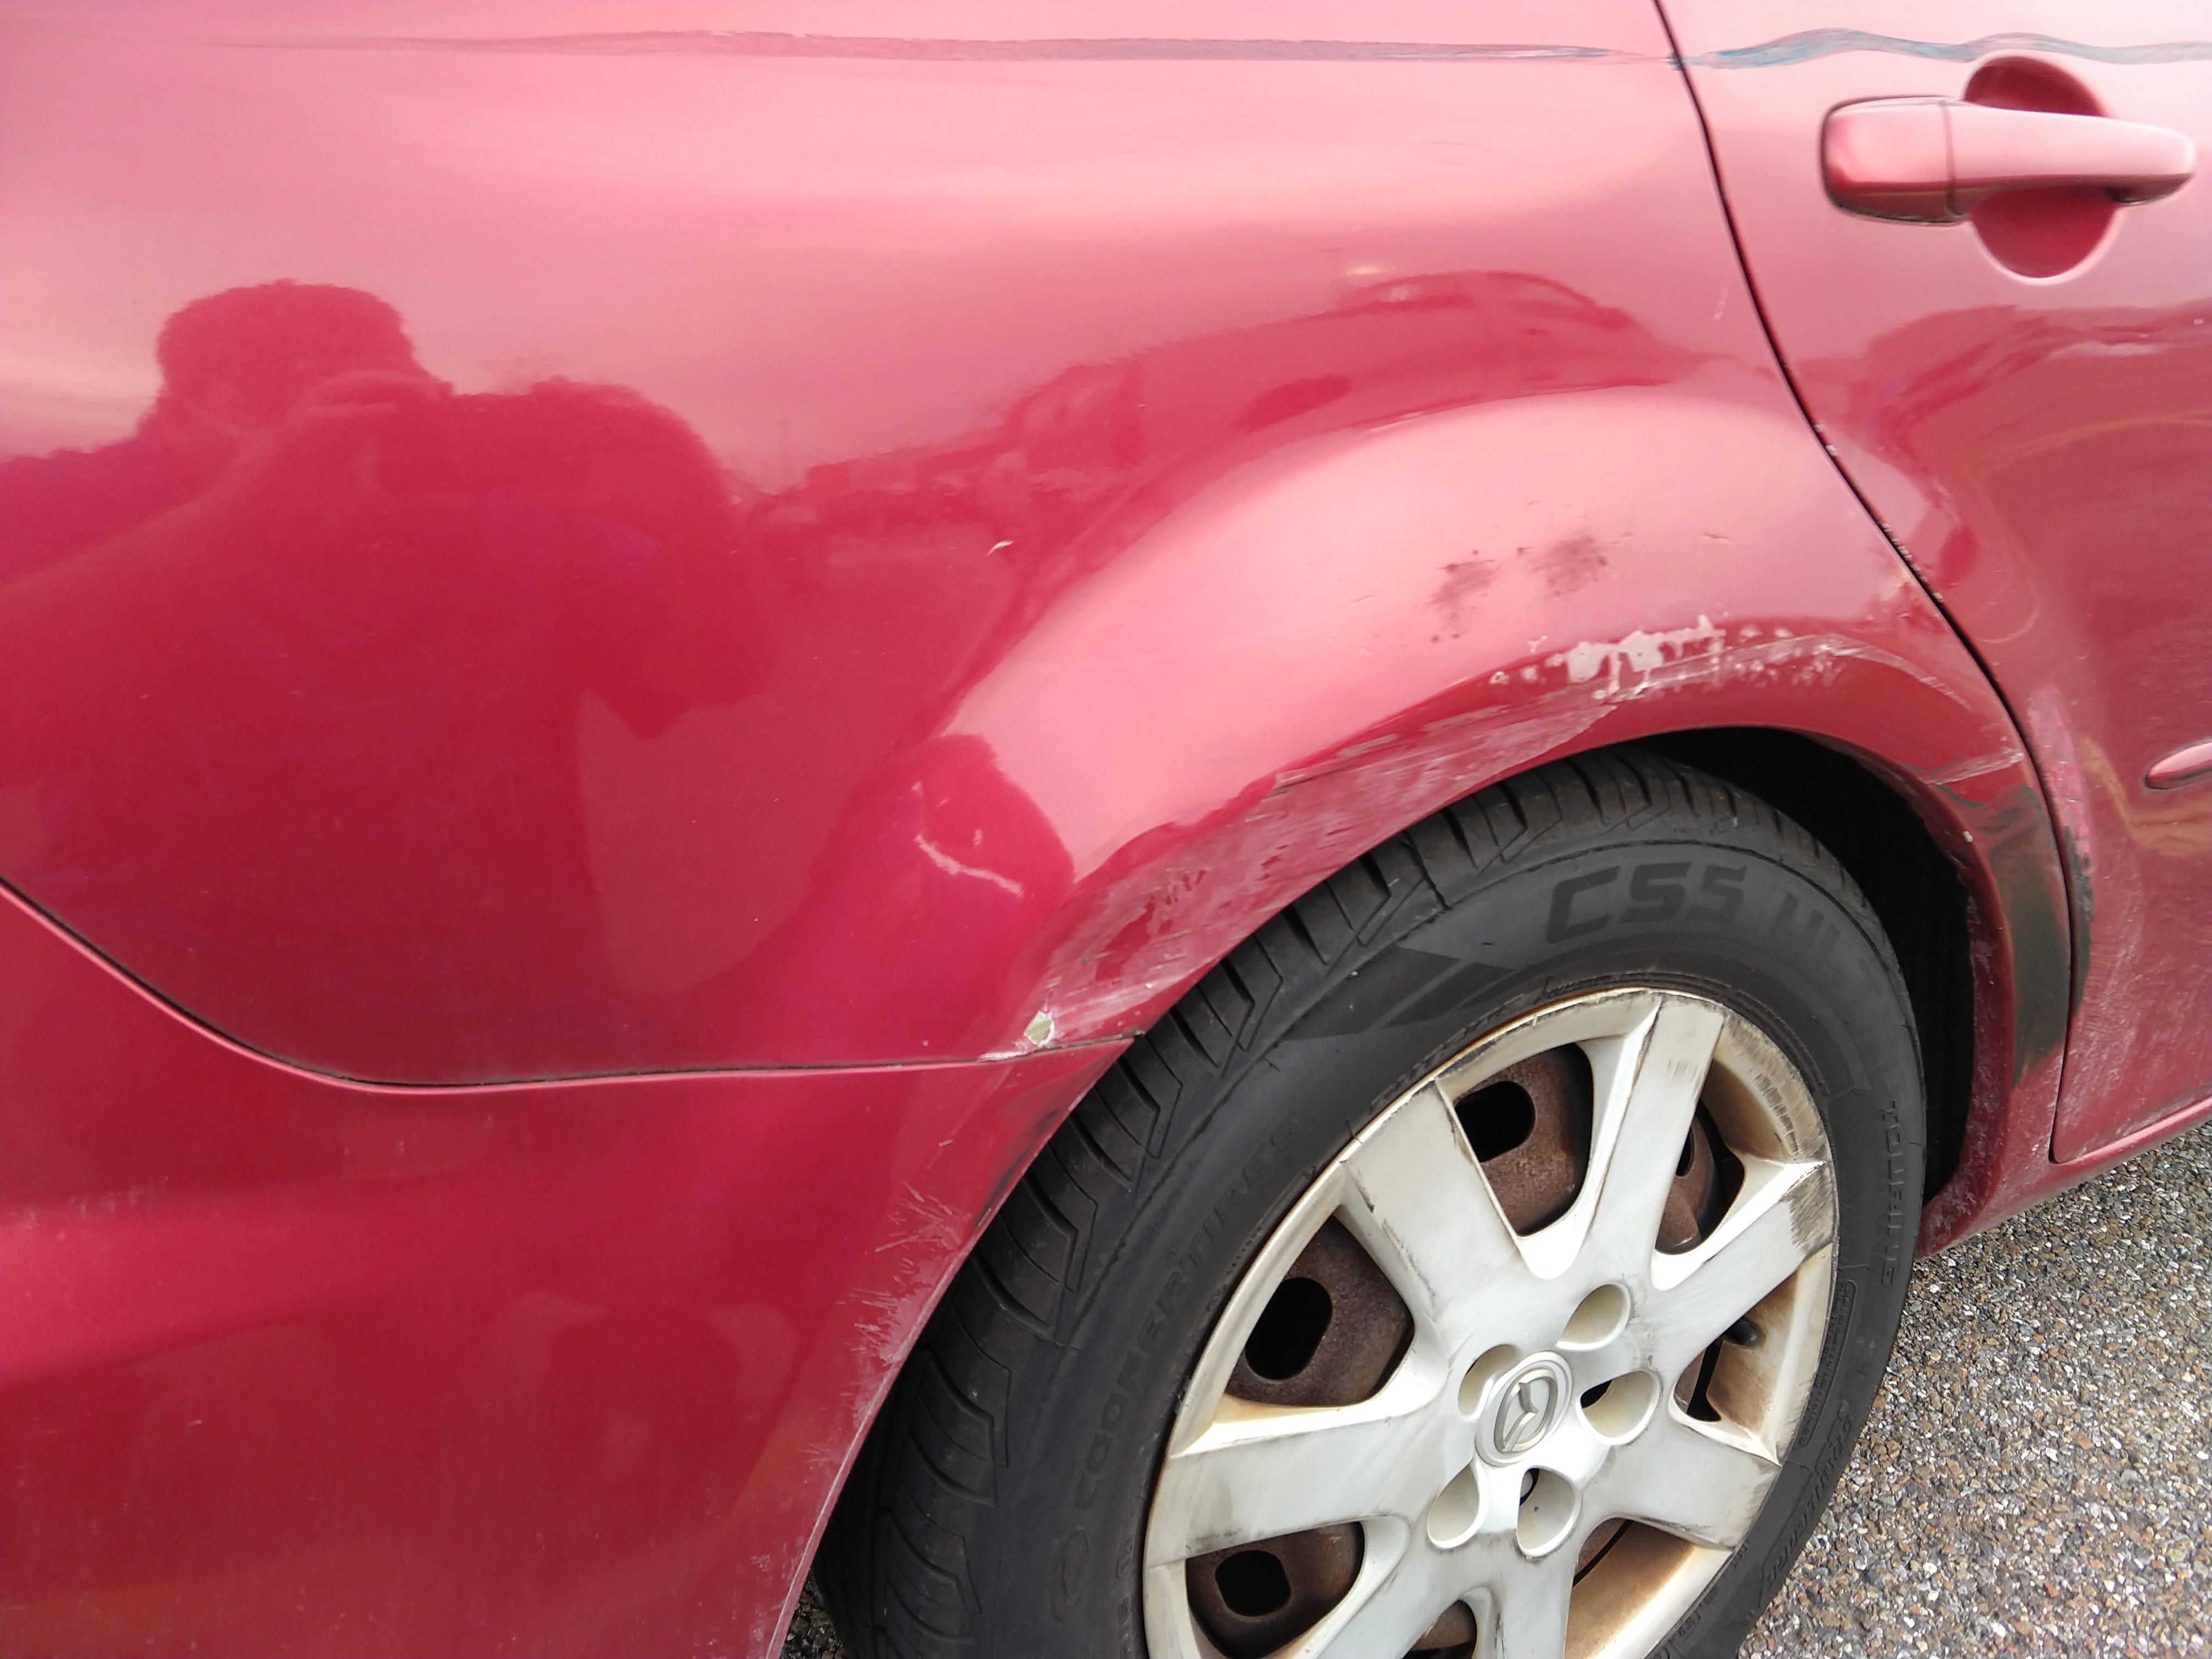
It’s red and to make things worse - the ding on the quarter panel was narrow/long, starting all the way in the middle of the rear door.
I ended up with one can of orange primer, two cans of base color and one can of 2-component clear.
The red metallic blended in almost perfectly, no color differences, even although I painted only the damaged areas plus 2-3 inches around. I masked with a cheapo-masking tape rolled backward to make for a smooth transition and stepped that masking back a couple of times to have wider and wider base color area, then I applied clear to the entire door and entire quarter panel, almost no polishing was required for 2-component clear (USC SprayMax 2K Glamour).
All done in a couple of days and with no spray gun.
Definitely complies to 20/20 test, probably even to 10/10 
Yeah I’ve got a box of paint in the shop from those guys waiting for the weather to warm up and my ambition to increase. I’ve been painting though since about 10 years old with spray cans, the Kirby vacuum cleaner, and spray guns. Just seems like something most every guy masters as they reach adult-hood. But if concerned take it to a body shop and they’ll do it for a reasonable price for a simple fender. Yes for sure pre-fit that dang thing for any modifications needed. It can be way off. I had an OEM fender provided for me on a Caddy job and even with a part from Caddy there was a fair amount of fussing around to get it to fit, so an after-market just depends on who made it. Of course everything from the Amazon is high quality.
Another option instead of painting the fender is, order a wrap for the fender that matches the color of the car.
Tester
I know that autodoc24 has some good prices
The person who started this is in the US and I don’t think Autodoc24 is a US firm so that will not help him.
Nope, but I’m giving it a shot. Removed the old fender today and only managed to break one part in the process. Photos attached. Does anyone know what that white bracket is called? At the curved section of the front bumper cover, to the lower right of the headlight, it secures the bumper cover to the fender. I managed to break the square plastic tab that goes into the fender. I tried looking on some Mazda parts sites, but I haven’t been able to ID that part yet.
Once I get my hands on that part, I can check the fit of the aftermarket fender I have. I truly appreciate all the help and guidance from everyone.


I identified the white bracket! It’s called a bumper slide. One thing down, a few million to go . . . . It’s a good thing I enjoy doing this kind of stuff. I sit at a computer and type all day for a living, so this repair is a refreshing challenge for me.
You can always improvise with that part. Looks intact except for maybe a fastener socket or so. See the small parts display at NAPA or someplace.
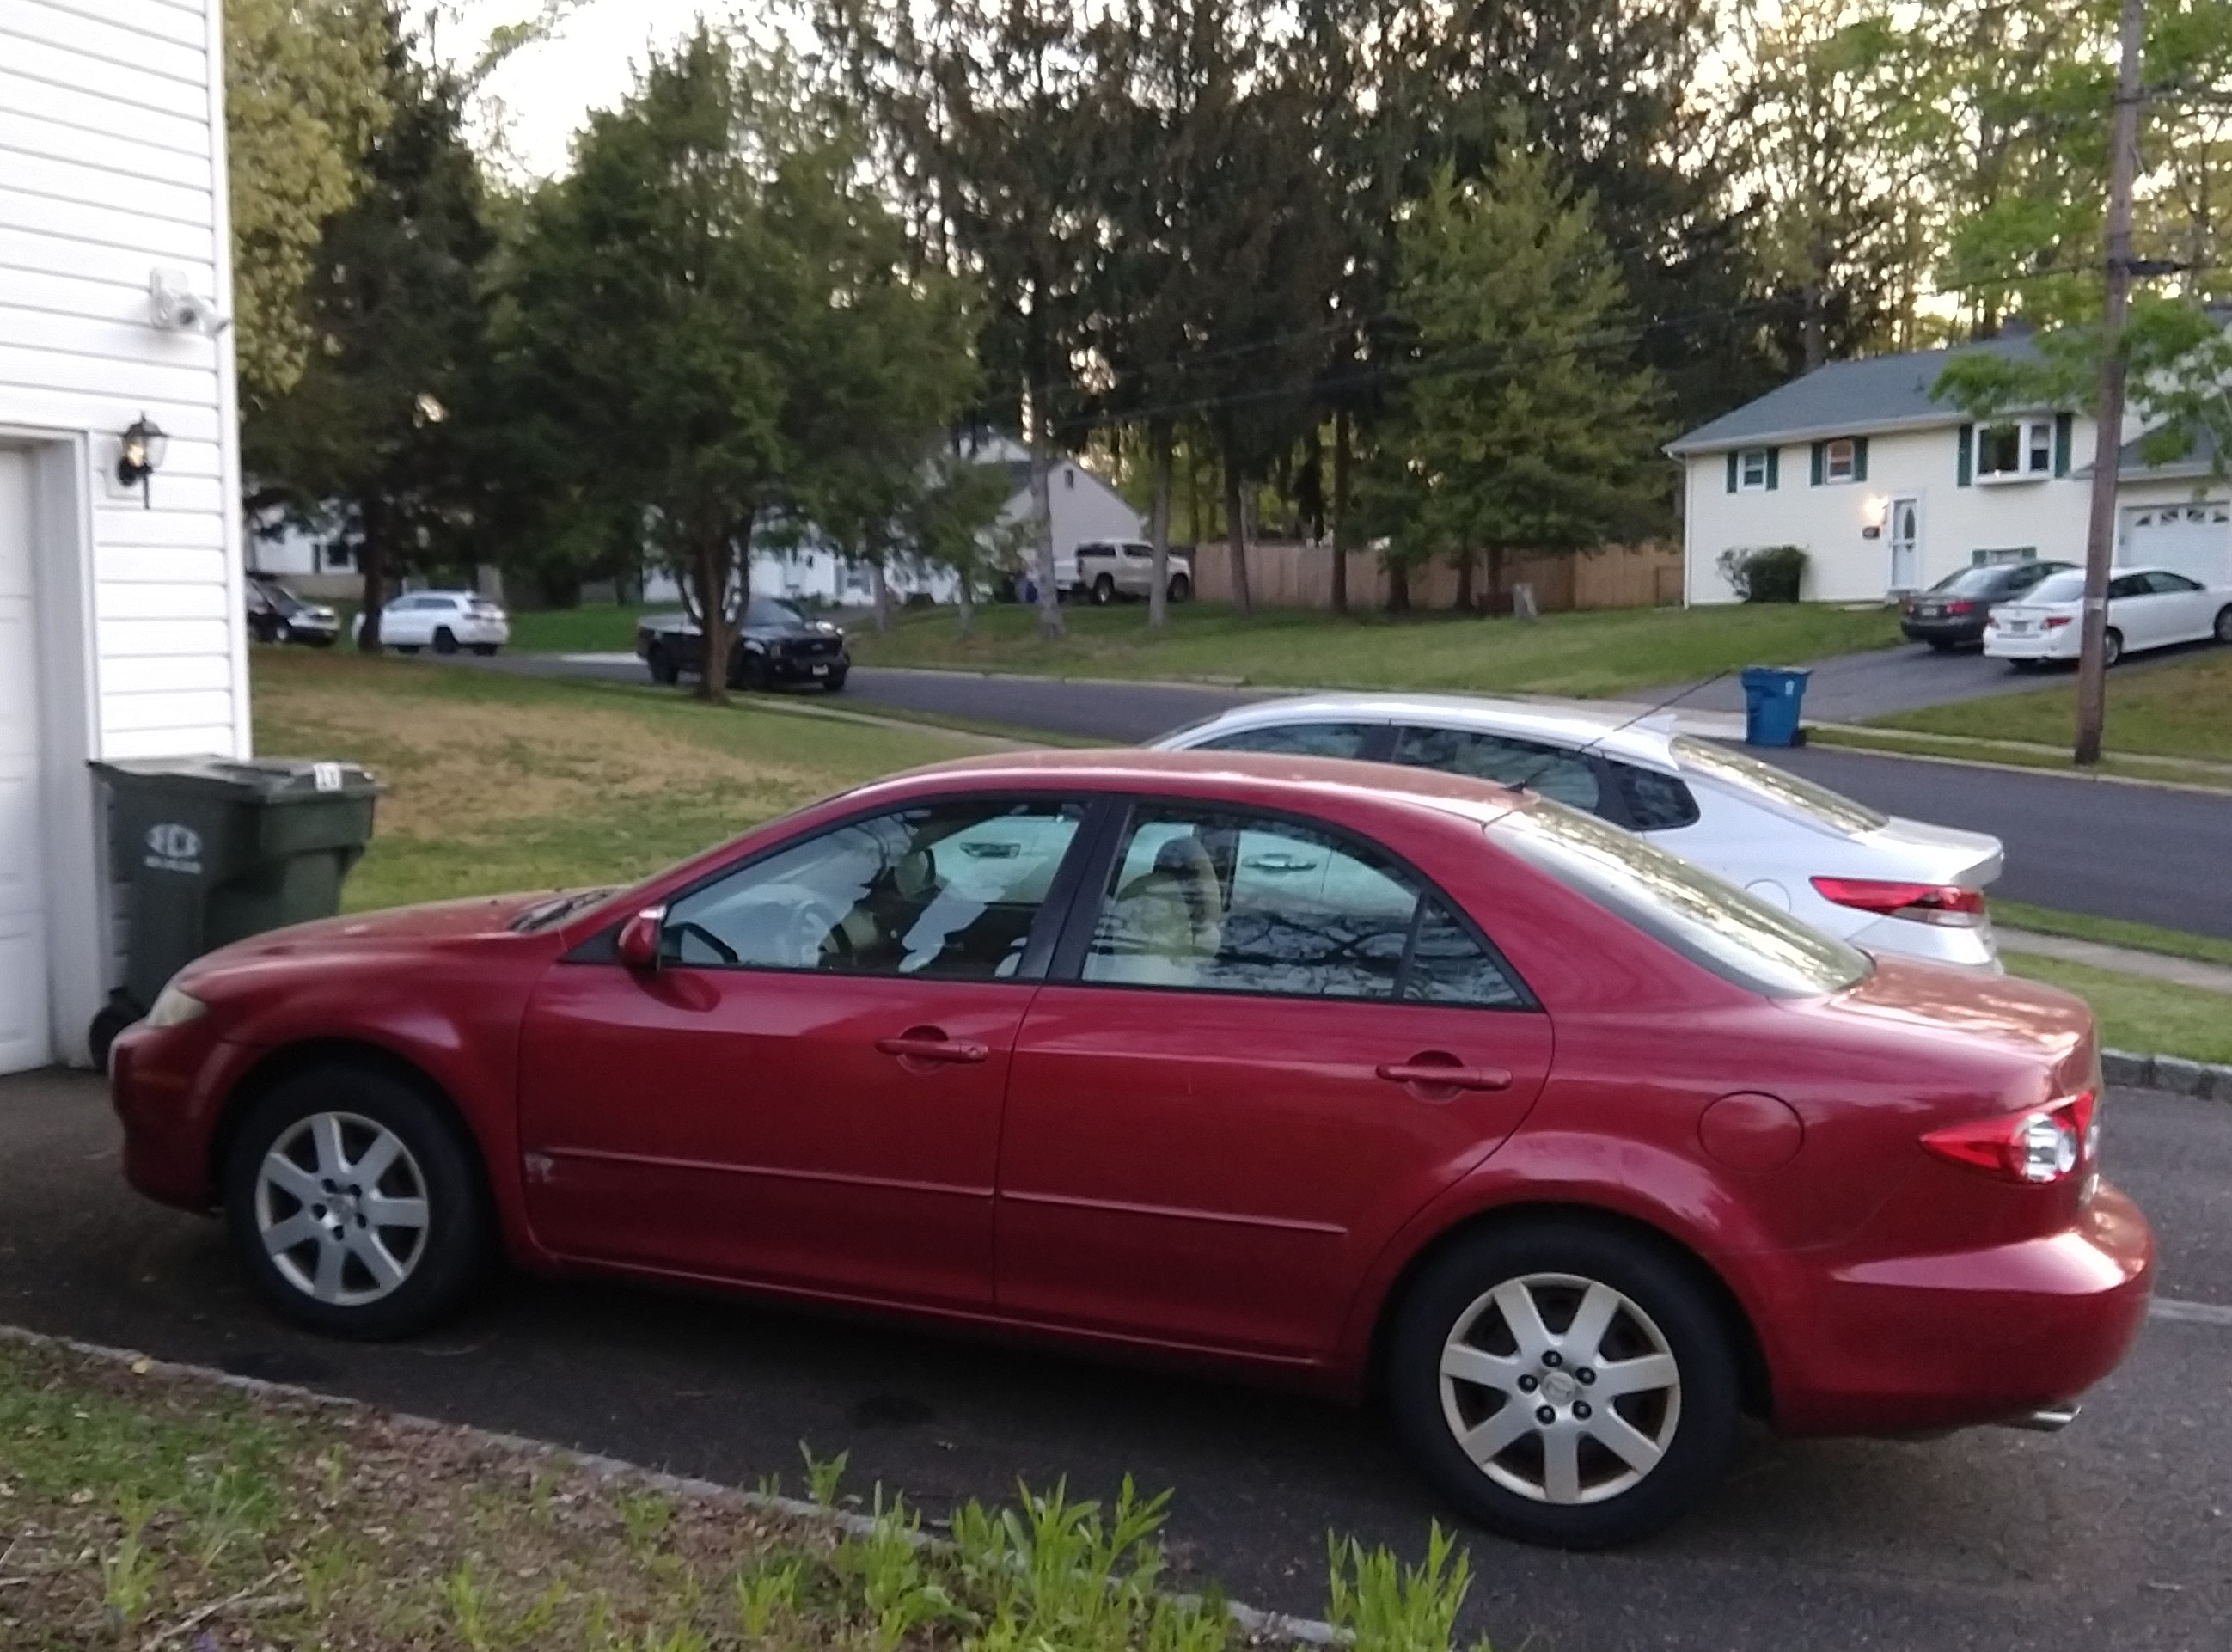
Original poster here, back with an update many weeks later. Below are some before and after pics. I didn’t achieve perfection, but I think it passes the 20 feet/20 mph test. Color match isn’t perfect, but I’m really pleased with the outcome. I still have a few minor things to do, like the driver’s door paint damage. The hardest parts are over.
Some things I learned from this project . . .
Getting factory-matched paint for an older car can be challenging. The major parts stores only go about 10 years back in terms of the colors they stock. I ended up using two online, custom-mix companies (one of whom was recommended earlier in this chain). The first company botched my initial order and sent me more propellant than paint after about two weeks waiting for order processing. But, they also quickly rectified it and provided replacement product at no charge. Another company charged me immediately, promised 4 to 6-day processing, and then let three weeks go by without any progress on my order. It was only after some shaming that they finally processed and shipped my order. But, their product was also far superior to the first company I tried.
Spray painting is harder than it looks. It takes patience, a steady hand, and a willingness to apply 5-6 light coats instead of 2 thick coats to do it right. I botched the fender and door paint multiple times. Lacquer thinner became my best friend to remove points of excess spray. And when the paint does arrive and the spray cans are empty at the end, you realize it’s really difficult to match new paint against paint that has been exposed to the elements for more than a decade.
The universe of available sandpaper grits goes amazingly far beyond the 40 to 220 range for woodworking. For this project, I went as low as 120 to strip paint and as high as 2000 for final surface area prep.
Replacement auto body parts literally are “parts” only. Any associated fasteners and clips are not necessarily included. I have a mudguard I still need to install. It’s delayed because the mudguard the dealer sold me didn’t include the associated fasteners. As my original fasteners are currently scattered all over a former hit and run scene somewhere in Delaware, I have to order them. And, the side mirror I ordered from a major auto parts supplier did not include any hardware. It took a herculean effort to extract the old hardware from what was left of the damaged mirror (think removing bolts without using the head of the bolt).
And, finally, you can get tremendous personal satisfaction from doing work yourself. All my anger at the individual who caused the collision and ran from the scene (and who I’ll never be able to hold accountable for damaging the car or putting my life at risk) has transformed to a bit of pride and happiness for making an old car look pretty presentable at about 10% of the cost I was quoted for a proper, professional job at a body shop. Different folks have different standards, but I’m really happy with the result here.


Looks pretty good. You are fortunate your paint was a solid color, metallics can be extremely difficult to match.
Reds can be a bear to match, too. Nice work!
Nothing you would notice from a galloping horse! If you are happy, I am happy!
Me too. Full coverage on my 2005 wagon, $100 deductible. Had a rear side window break - took a week to find one, have it delivered and installed in my driveway.