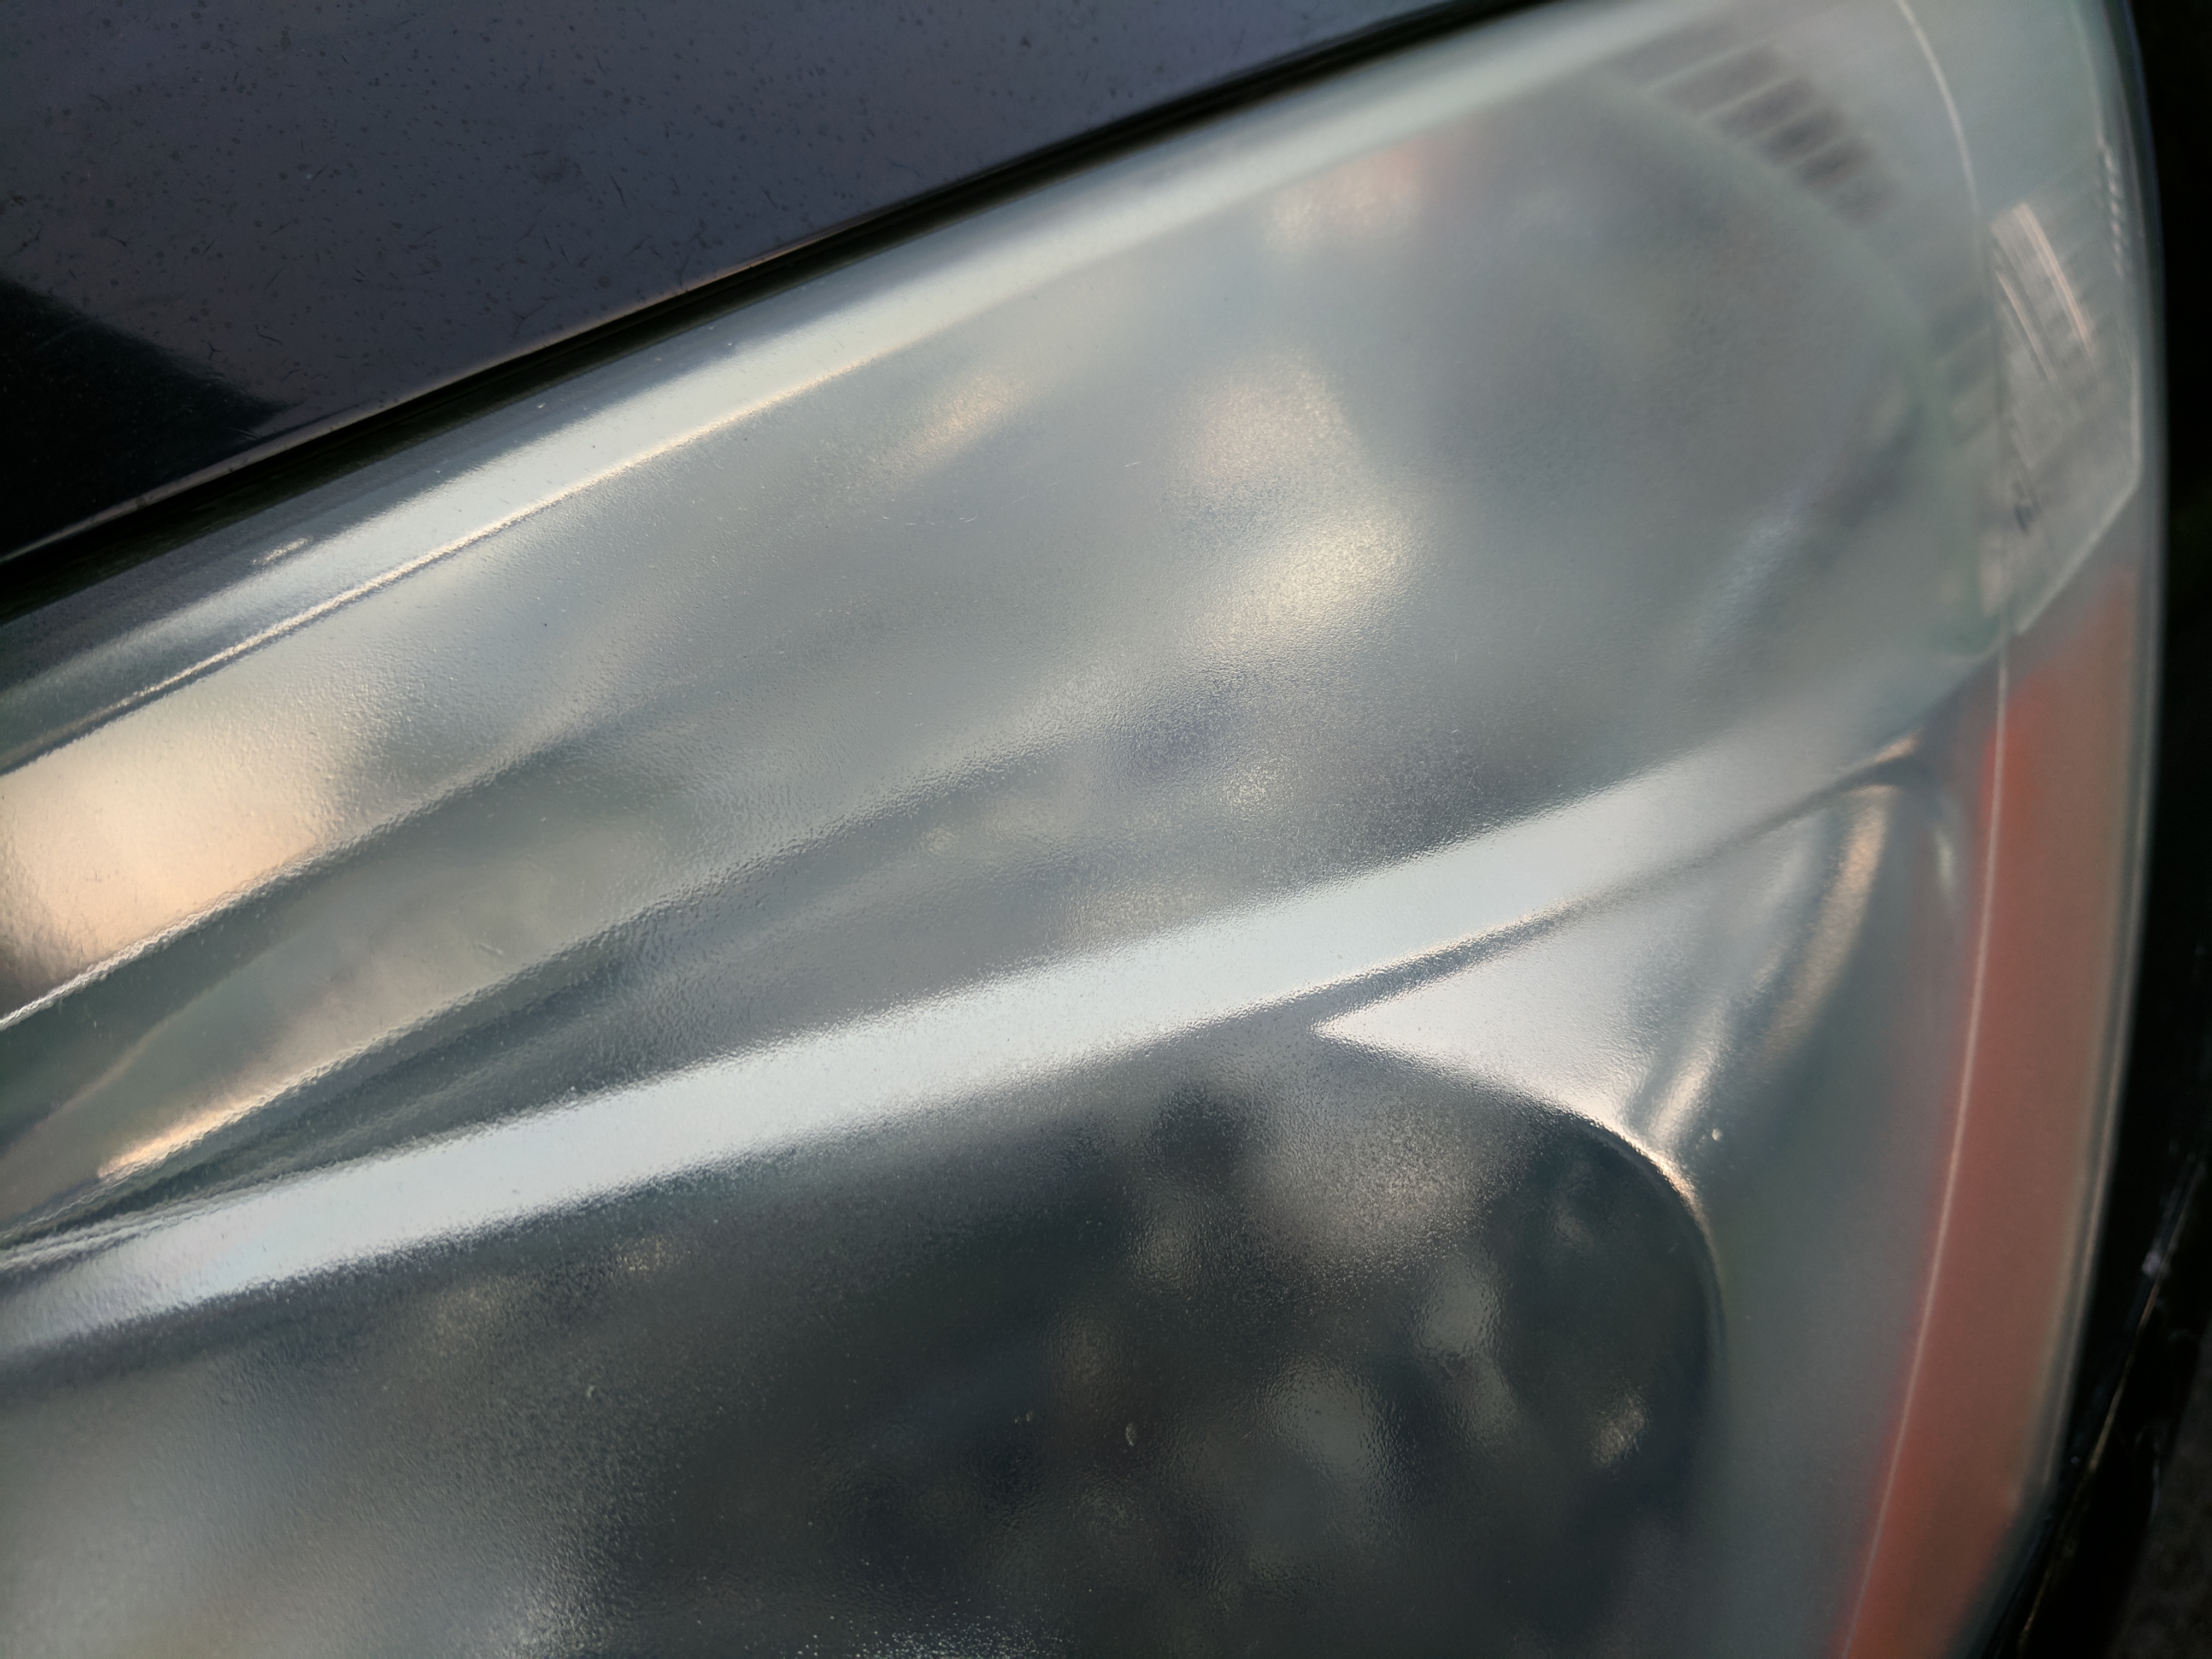
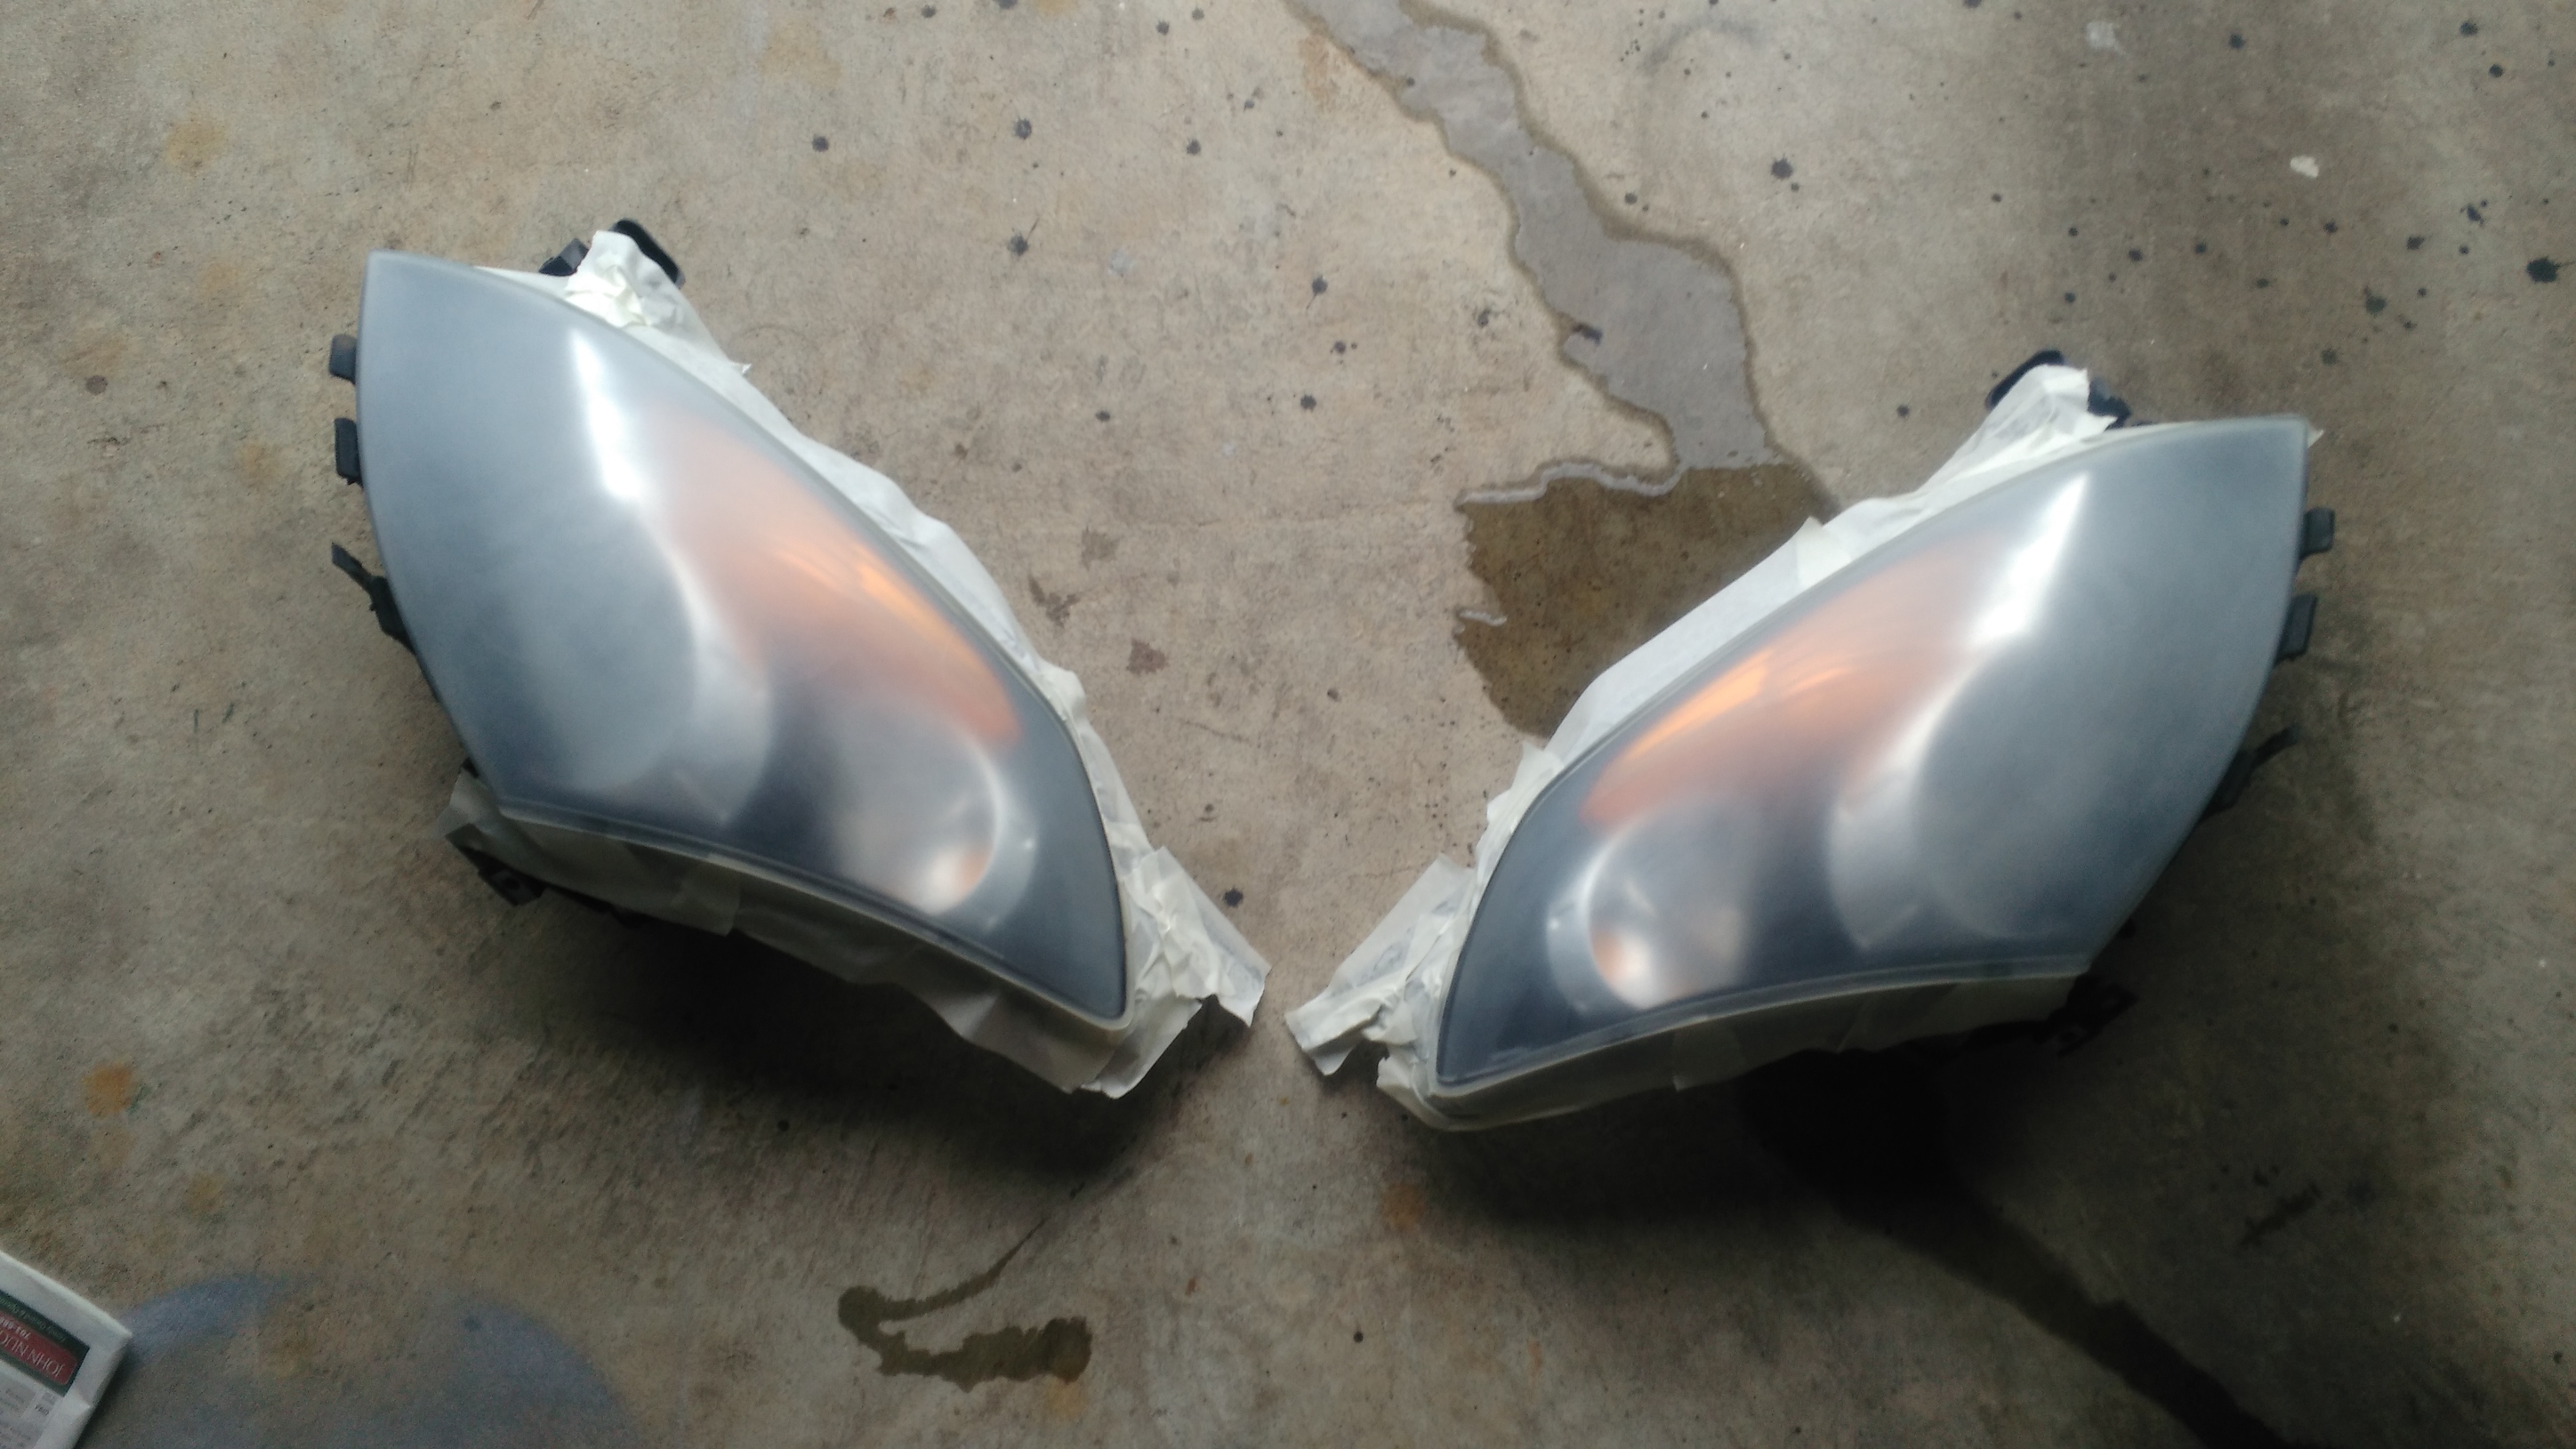
I did a headlight restoration on this, the headlights were pretty awful. But they seem to have cleared up well. However, I think I may have messed up when I did the final part of the process… it just doesn’t look like the clear coat was done right. I was expecting them to be nice and clear, but they are not. Did I put too little clear coat? should I have sprayed on more with each coat?
More importantly… is there a way for me to correct this? Or would i have to buff the clear coat off and do it over again?
Here is the video I followed. https://youtu.be/UEJbKLZ7RmM
Cliffnotes:
Wet sand the light (coarse, medium, then fine)
alcohol on the light to clean and dry it up for the clear coat
(3) coats of clear coat with UV protection 6min between coats.
Hard to tell from the photos is the solvents in the clear coat reacted badly to the plastic lens causing “crazing” or if the clear just wasn’t sprayed heavy enough to flow out and form a smooth surface. The last coat should be a little heavier so it looks “wet” and smooth when you are finished.
Try wet-sanding the lens again with 600 grit wet-or-dry paper (the black stuff) and then 1000 grit. If a very close look at the surface is smooth and not pitted, respray it. Spray is VERY good light so you can see the clear “shine up” as you get the spray heavy enough to flow out. Don’t get too much or it will run - that’s the tough part.
What Rustoleum calls their “hammered finish” clear coat would leave the surface looking like yours, I didn’t realize they had 3 different clear coats in spray at first but the dead flat would give you the result you want. This is the line that i find at Home Depot
I can’t tell what happened but it looks textured. Try buffing a small area, see what happens. You might have to redo the whole thing. I did a pair of lenses last year and didn’t put any clear coat on them. They still look good after a year.
I guess I have not heard of clear coating the lenses. At this point I’d sand it off again and start over and forget the clear. Just polish them from time to time so they don’t cloud up.
This occurs if the paint gun/spray can is held too far away from the surface to be painted.
When this happens, the carrier in the paint/clear coat flashes off on it’s way to the surface. So instead of the paint/clear coat flowing together to create a smooth surface you get this orange peel effect.
You can try wet sanding the surface smooth starting out with 1000 grit sandpaper, and then go to 1500 grit, and then to 2000 grit.
I believe the alcohol was the culprit. I would not put alcohol on plastic.
I offer images of two different vehicles that I did, the first a Lexus of uncertain year (I believe it to be mid-2000s), the second on a 2005. Both were done with regular polishing compound on a wetted sponge mounted on a portable drill arbor, followed by waxing with regular car wax. The first, the Lexus, was badly fogged over.
I’ve done fogged-over headlamps on four different vehicles so far, and they’ve all come out excellent.
My recommendation is to redo them using the procedure I described.
Sincere best of luck.
. Most polycarbonate headlights use some type of protective coating on them. You don’t want to remove this coating by sanding it away or using any abrasive paste on them. Replacing both headlights is the way to go.
When you consider that new replacement headlight assemblies can be had for around $80 a pair for that specific car. I don’t think I’d bother fooling around with trying to restore them.
I had a rear taillight that was seriously cloudy. My attempts to clear it up went nowhere. I ended up getting a used taillight from a junked car for $30 shipped. Replaced it in 5 mins. I’m going that route from now on.
remove contaminants with rubbing alcohol, wait 30 minutes to dry (important!)
slight coat of Dupli-Color adhesion promoter, 10 minutes wait
slight coat of acrylic clear, 15 minutes wait
moderate coat of clear, 15 minutes wait
heavy final coat of clear
remove masking after an hour
wait overnight before trying to buff (I’m gonna skip this one)
At first I messed it up and it went “rustic texture” after I’ve impatiently applied adhesion promoter only 5 minutes after rubbing alcohol - BIG MISTAKE - wait an hour and back to sanding, then I timed it and it went flawlessly
Hopefully this detailed description will help OP and somebody else
I’ve actually entertained that option… the cheapest set of two headlights for 2007 Altima is something like $100 on Amazon, but reviews tell it has a bad fit and some complaint it is not watertight and fogs in rain… so the good set is at $185+ per reviews and it is quite a different story…
I’ve decided to restore OEM ones since they are known good, simply did not want taking chances with misfit or lights improperly focused
And there’s nothing better than the satisfaction of repairing the old ones yourself! I’m one who prefers fixing things to replacing them. Absolutely beautiful work. I’d be proud to have done that myself. You have every right to be proud.
You may want to give it a few weeks to cure fully and put a coat of car wax (NOT polish) on it. I’ve found that it stays looking good longer.
Also, sincere thanks for taking the time to post back. This issue gets brought up periodically and it’s good to have proven processes. I, for one, am proud of you. I’m sure your daughter is too… but she may not want to show it. Got a daughter of my own.